About Me

Mother taught. Personally innovated. I love food.

Search DocApril

Wednesday, November 16, 2011

Langoustines, Lemon Curd and Quick Almond Coconut Shortbread


My work colleagues and I have a monthly alphabet themed potluck lunch.  Working our way backwards through the alphabet, we each make something that features that letter.  This month, I stepped up to the  "L" potluck challenge by making Louisiana Langoustine Etouffee using my friend, Joe's, recipe except no shrimp or crawfish, just langoustine.  Langoustine?  Yes!  It's a sort of cousin to the lobster, shrimp and crawfish...looking almost like a cross between lobster and crawfish or a gigantic shrimp with claws.

I didn't stop there!

I had about 5-6 extra lemons around so I decided to proceed with a second "L" potluck dish and personal indulgent favorite:  lemon curd.  Yum!  I think most chocoholics might pass on a chocolate dessert if it boiled down to that or a lemon based dessert, specifically involving lemon curd.  Okay, well, maybe not, but I would!

I usually use Alton Brown or David Lebovitz's recipe but this time I tried out Barefoot Contessa's recipe.  After all, Ina Garten is the Northern Yin to Paula Deen's Southern Yang and lemon curd certainly requires butter to be super creamy and smooth.

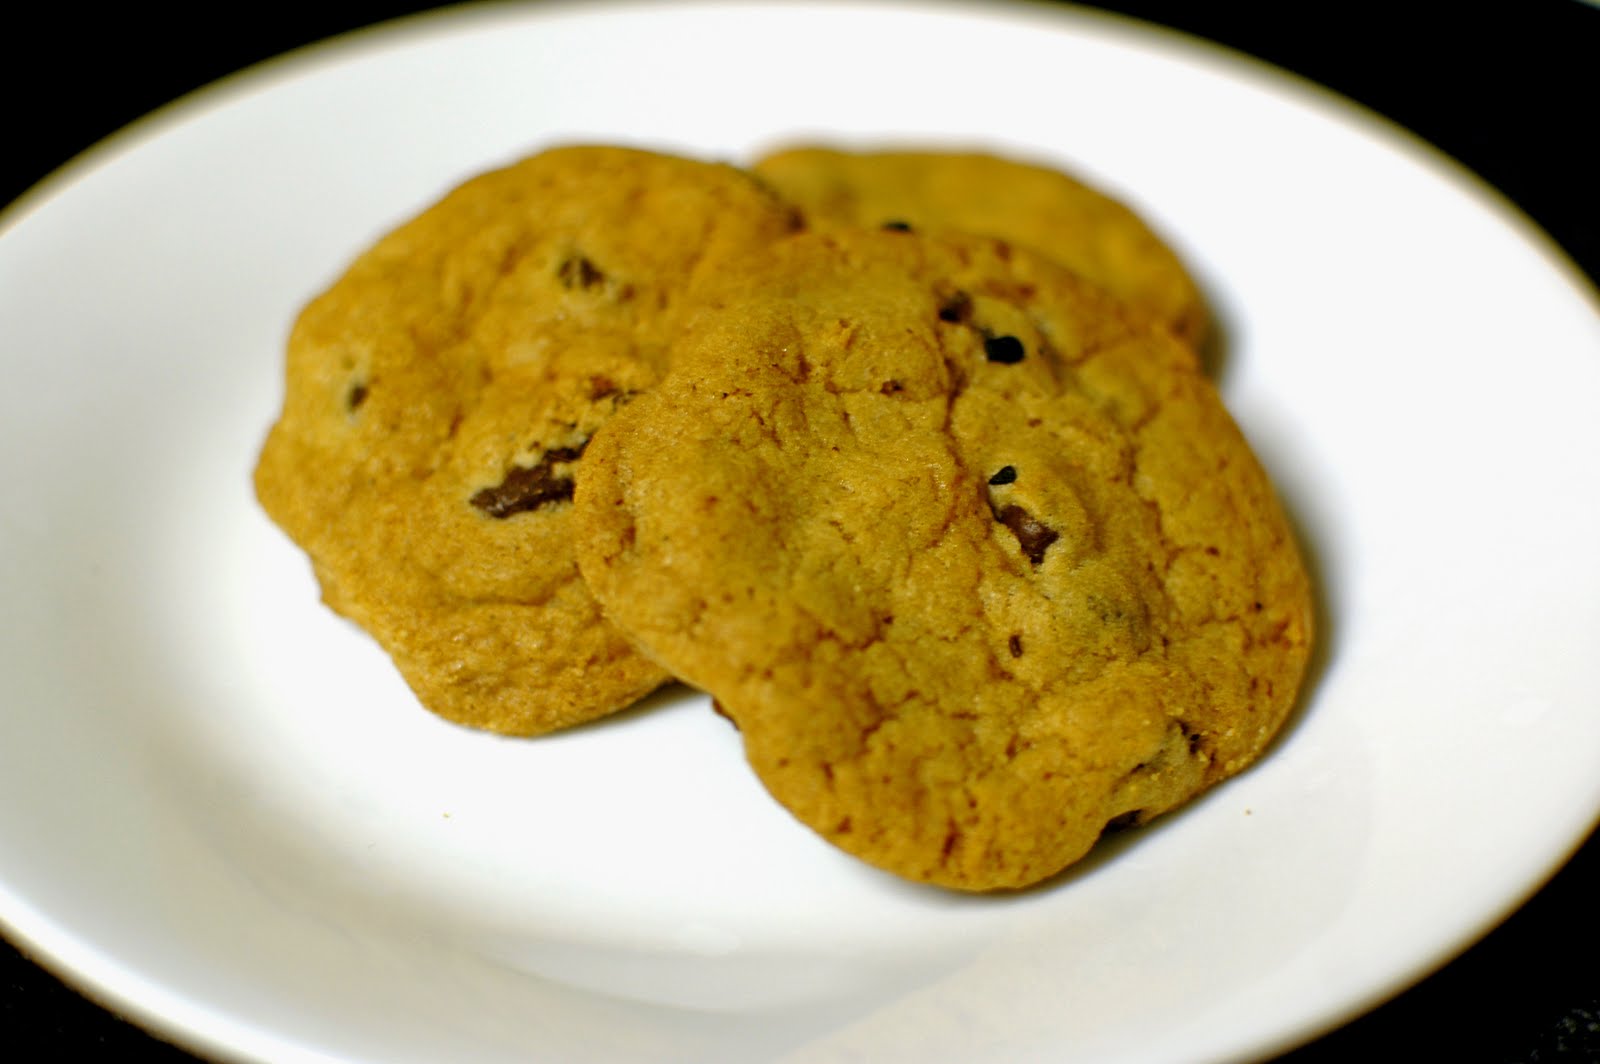
To accompany the lemon curd, I quickly made up a "shortbread" style butter cookie that I'm only now wishing I wrote down when I was in mad-scientist kitchen mode.  It went something like this:

Combine 4 T butter and 1/4 C brown sugar in a food processor and blend until creamy (or use a mixer).  To this, add 2 T honey, a pinch of salt, 1/3 C almond flour, 1/4 cup regular flour (though I think all of it can be almond flour), 1/4 C unsweetened flaked coconut and 1 T cornstarch.  Process until a soft but slightly sticky dough forms.  Turn out onto a piece of plastic wrap, form into a log (mine was rectangular) and freeze for about 15-30 min until hardened.  Slice into 1/4 inch thick cookies and bake at 300 F for about 15 min or until light golden brown.

Sunday, October 23, 2011

Soup Season 2011-2012

Dear Friends, the cool weather has made its way into the crevices and cracks of the walls and windowsills. Soup season is upon us!  This post will be the running list of soups and stews made, typically weekly for lunch, this season.

Oct 1-7, 2011:  Lentil Soup (Moosewood recipe)
Oct 17-21, 2011:  Cream of Celery with Potato (April Improvised)
Oct 22-24, 2011:  Silky Avocado, Corn and Chicken (April Improvised)
Oct 31-Nov 4, 2011:  Split Pea (Moosewood recipe)
Nov 14-18, 2011:  Chicken Posole (Hominy chicken soup)

Silky Avocado Corn and Chicken Soup

Step 1:  Peel 4 ripe avocados and place into food processor or blender with the juice of half a lemon and pulse until blended


Step 2:  Heat one onion or a large shallot, 2-3 large chopped cloves of garlic and 2-3 hot peppers (jalapeno, serrano) in some olive oil until fragrant and add 2 C of chicken stock


Step 3:  Cut chicken breasts or boneless skinless thighs into cubes and cook in the simmering chicken stock

Step 4:  Remove the chicken with a slotted spoon once cooked

Step 5:  Carefully temper the avocado mixture in the food processor by adding 1/4 C of the hot chicken stock mixture, pulsing the food processor or blender between each 1/4 C to combine and blend the onion and garlic into the avocado mixture until about 1 C (or all) of the hot stock has been added and blended until silky smooth.


Step 6:  Add some frozen or canned corn and the chicken back to the soup along with a dash of chili powder and serve with some tortilla chips!


Wednesday, July 6, 2011

Watermelon Lime Basil Sorbet (No Ice Cream Machine)


This Independence Day, like most American consumers, we had a meal of hot dogs, sauerkraut, baked beans (home made of course), "Quickles" (quickly pickled cucumbers, aka cucumber dill salad), and corn on the cob.  Of course the watermelon could not be left out and served to complete the meal seeing as huge whole seedless watermelons were on sale ($2.99).


When I put the watermelon on the kitchen counter after washing it, I only then realized the enormity of it.  Feeling creative, I decided to make something with half of it so that we would not waste any of it.  Sadly, I threw out the rinds before I realized I could have made some delicious watermelon rind pickles.  In the spirit of the dog days of summer, I ended up making sorbet.  I never made sorbet before, but this turned out to be a great recipe.  Next time, I will try an alternative to corn syrup and sugar, though I'm not sure there really is one that will achieve a similar smooth not-too-ice-crystally sorbet texture.  The corn syrup is a different sugar structure and basically intercalates between the sugar so that upon re-crystalization of the sugar and water, the crystals that form are smaller and less icy.  I believe that honey might do the trick.


Surprisingly, I basically followed a recipe, more surprisingly it came from Rachel Ray Magazine because it was the top recipe returned for my Internet search of "watermelon sorbet", and even more surprisingly it was really simple:

WATERMELON SORBET
June/July 2007
8 servings; Prep: 30 minutes (plus freezing)

INGREDIENTS:
5 pounds seedless watermelon, cut into small chunks (6 cups)1/4 cup sugarGrated peel of 1 limePinch salt1/2 cup light corn syrup

DIRECTIONS:
Using a blender, puree the watermelon; you will need 4 cups watermelon puree.
In a large saucepan, bring 1 cup watermelon puree, the sugar and lime peel to a simmer over medium-low heat, stirring until the sugar dissolves; season with the salt. Pour in the remaining 3 cups watermelon puree, then whisk in the corn syrup until incorporated. Pour the watermelon mixture into a 9-inch metal cake pan and freeze until firm, about 4 hours or overnight.
Let the frozen watermelon soften at room temperature for 5 minutes. Using a butter knife, break up the frozen puree into 2-inch pieces. Transfer the pieces to a food processor in batches and pulse until smooth. Store the sorbet in a freezer-safe container for up to 1 week. Let stand for 5 minutes before scooping.

TIP:  For a change - Replace the corn syrup with sweetened condensed milk to make ice cream.

The basil was my addition because I recently had a homemade ice pop made of kiwi and basil.  The ice pop has a bit too much basil, but the combination was surprisingly refreshing and herbs in dessert applications are trending towards being more popular of late.  I basically blended about 1/4-1/3 C packed basil leaves with some of the watermelon chunks and put all of that through the strainer.  I also used my food processor and not a blender for all of this paying attention to mind the "max liquid fill line" on the bowl so I pureed everything in batches.

I highly recommend trying this and being creative yourself.  I can't wait to try different summer fruits, and maybe I'll even try the ice cream version as suggested.

Saturday, July 2, 2011

Home-grown + Home-made Tricolore Pesto

Left most:  Lettuce-leaf Basil; Back center:  Italian Sweet Basil (classic); Right:  Anise Hissop

Hello!  All of the above herbs were grown in our little urban-suburban claim to land.  It was a bountiful harvest today, and the plan is to make some "tricolore" pesto.  Perhaps it will be spread on a pork loin, rolled up and grilled to make some pesto-stuffed pork loin!

More later!

Well...as it turns out, a trip to H-Mart later returned garlic scapes, supposedly amazing rice suggested to us by a trusted source to try out in our hand-me-down rice cooker, and some small whole Red Snapper.  As a result, the pesto was made with deliciously fresh looking garlic scapes instead:


The small whole Red Snapper was paired with the pesto instead of pork loin this evening.  The Snapper was sliced on the bias several times on each side and stuffed with pesto in the slits made as well as in the middle belly portion.


I seared the Snapper on both sides in a heavy bottomed stainless steel pan, deglazed with some white wine and stuck the whole pan (covered) in the over at about 400 F for 20 min, followed with a brief 5 min broil (uncovered) at the end.  I removed the Snapper from the pan, added some butter on the stovetop, browned the butter and bits remaining and again deglazed with some white wine briefly to produce a nice pesto browned butter sauce that I strained and served over the fish.  I forgot the "after" photograph of the fish.  Oh well, trust that it was tasty!

Regarding the rice, I'm not sure if we did something wrong or the rice cooker has its own issues, but the rice turned out mushy and slightly burntish/stuck to the bottom.  Therefore, being the quick thinking cook that I am, I remembered I had two zucchini in the fridge from the Farmer's Market the week before that really needed to be used.  I thought:  "Ah-ha!  I'll make pesto-zucchini rice cakes!"  Voila!  I mixed 2 eggs, some of the remaining pesto and the rice in a bowl and pan fried the cakes in some olive oil.  They were delicious and were an excellent application of the otherwise slightly gummy and tasteless rice.


Overall, it was a very tasty meal that cost in all $9.00 total.  In a seafood restaurant this would have easily been a $60 bill.  One note is that next time, I might just go for the filets...bones are a pain!

Monday, May 2, 2011

Black Salt Chocolate Chip Cookies

Salt and cookies?  Yup!  Who doesn't love that sweet and savory combo?  Much like a chocolate covered pretzel, this is simply a fancy sounding rendition of the plain old, and yet so yummy, classic chocolate chip cookie!

I was craving that good old dunkable deliciousness that is a chocolate chip cookie, when I thought to find a purpose for the Hawaiian black salt I've had for nearly 2 years now.  I've used some in the past, but if you've never used or tasted Hawaiian black salt before, there are two things to know: (1) it's extremely intensely salty, therefore very little goes a looooong way, and (2) it tends to impart its color on anything you may season it with from the volcanic ash and carbon, and why would you simply use it in a recipe when there's regular salt for that, instead of on the finished product as a seasoning salt.

Anyway, I decided to bake chocolate chip cookies to satisfy the craving and also experimented at the same time by very lightly sprinkling some Hawaiian black salt on top of each cookie.  ***Remember - a little goes a very long way!  

I'm really glad I tried this.  My work colleagues thought this salt addition was absolutely fabulous, and I tried a new chocolate chip cookie recipe that isn't the one from the back of the Tollhouse bag.  Instead, I just tried a quick search for chocolate chip cookie recipe and used the first one I found.  Indeed, the AllRecipes.com Best Chocolate Chip Cookie recipe turned out to be rather superior to the classic Tollhouse recipe.  This recipe has a bit more sugar and flour, and also provides a good tip for adding the baking soda:  dissolve in 2 teaspoons of hot water.  The cookies were perfectly crisp on the edges and chewy in the middle.  I did not add the salt or the walnuts:


Ingredients

  • 1 cup butter, softened
  • 1 cup white sugar
  • 1 cup packed brown sugar
  • 2 eggs
  • 2 teaspoons vanilla extract
  • 3 cups all-purpose flour
  • 1 teaspoon baking soda
  • 2 teaspoons hot water
  • 1/2 teaspoon salt
  • 2 cups semisweet chocolate chips
  • 1 cup chopped walnuts

Directions

  1. Preheat oven to 350 degrees F (175 degrees C).
  2. Cream together the butter, white sugar, and brown sugar until smooth. Beat in the eggs one at a time, then stir in the vanilla. Dissolve baking soda in hot water. Add to batter along with salt. Stir in flour, chocolate chips, and nuts. Drop by large spoonfuls onto ungreased pans.
  3. Bake for about 10 minutes in the preheated oven, or until edges are nicely browned.


Oh, and by the way, they also make EXCELLENT salt-caramel ice cream cookie sandwiches!!!


Tuesday, March 22, 2011

Tofu Patties with Savory Mushroom Gravy and Mashed Potatoes

This one is a shout out to Mom for sure!  Growing up, meals in my house were mainly vegetarian because of Dad.  Some had cravings for chicken tenders, lasagna, or Mom's beef stew:  I had cravings for this dish. For those of you tofu-haters out there, give this recipe a try, you'll find yourself pleasantly surprised.  I will note, however, that the frying of the patties is not that healthy, but does make them oh-so-deliciously-crunchy!

I definitely used Mom's scanned recipe for this one, but of course with a few modifications.  I pan fried them to get the crunch factor, and I used sesame seeds, wheat germ, and cornmeal in the coating.  My tofu was previously frozen because I tend to buy it in bulk (extra-firm of course) and keep it in the freezer for a last minute protein-packed meal.  Also, when you freeze tofu, all of the water in it makes the little cellular pockets in the tofu expand as the water trapped inside freezes.  Then, when you defrost the tofu, you can squeeze out all of the excess water the tofu is really substantial and quite literally like a sponge.  This give the tofu a definitive texture and allows it to absorb more of the marinate and flavor you introduce it to, which makes it more enjoyable to eat than the regular old squishy stuff.  As such, I had to us more whole wheat flour in my mix because of the wetness of the patty mixture.  Just like you would make any patty, you add flour until the mix holds together.


My mom said that using mushroom bouillon is not necessary, but I did it anyway because I like to try and make things how Mom says to, you know?  I used Better than Bouillon brand mushroom bouillon, but apparently this can also be found in the Kosher aisle of the grocery store as a 3-pack of cubes made by Telma.  I also used about 3 C of sliced mushrooms and doubled the liquid: (1) because mushroom gravy is delicious, (2) because mushrooms shrink a lot, (3) because I like a lot of mushrooms in my gravy.

Of course, the key is to serve with a nice portion of homemade freshly mashed potatoes.  This was essentially my childhood version of "meat"loaf, and I still crave it today!  I hope it makes a tofu-appreciator out of you too!